
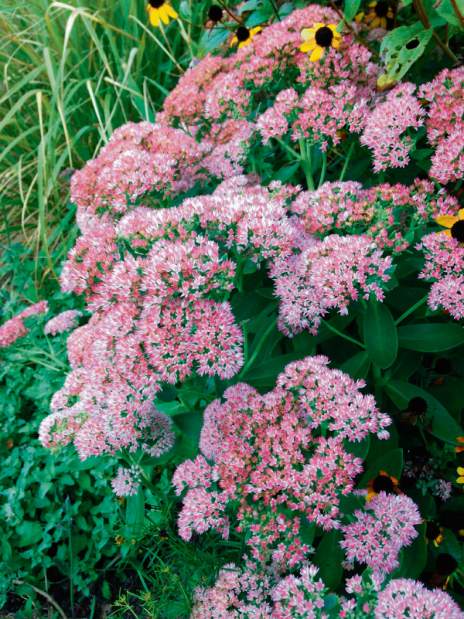
Question: I have some sedums growing along my driveway, and I'd like to have more of them. They bloom beautifully in the late summer. Someone told me I can take cuttings of them. Is that true? If so, how and when do I do it?
Answer: Sedums are one of the easiest plants to start from vegetative cuttings. Taller, fall-blooming varieties, such as ‘Autumn Joy' and ‘Brilliant,' as well as the creeping sedums (also called stonecrops), are easily propagated via cuttings. In fact, the stems of creeping sedums often root all along the length of their stems wherever they contact the soil.
There are two ways you can start more sedum plants. One is to take stem cuttings and the other is to take leaf cuttings. No matter which technique you choose, this task is best performed in the early spring, when the plant reaches about 4 inches in height.
Starting new sedums from stem cuttings is a very simple way to propagate them. When you take a stem cutting, you're removing a portion of stem from the mother plant and forcing it to generate an entirely new root system.
To take stem cuttings, start with a clean pair of scissors, a few small plastic pots, a bag of sterile potting mix, a container of rooting hormone and a handful of clear plastic baggies and twist-ties. Fill each pot with damp potting mix and lightly tamp it down. Cut several 2-inch-long stem pieces off the mother plant with the scissors. Each stem section should have at least two growth nodes (the place where the leaves meet the stem). Remove the lower leaves, but keep two or three of the leaves on the top because they will provide the energy needed to grow new roots.
Dip the bottom inch of each freshly cut stem into rooting hormone and then firmly insert it into a container of potting soil all the way up to the bottom of the remaining leaf.
Place one cutting in each pot, then water the soil and allow the pot to drain. Put each individual potted cutting into a clear plastic baggie with the opening at the top. Use a twist-tie to secure the baggie closed — this keeps the humidity high and prevents the cutting from drying out until it can form its own roots in a few weeks. Place the covered pots on a bright windowsill or in a shady spot in the garden.
Remove the bags and water the pots as necessary, always allowing them to drain before putting them back into the bag. In about a month, you can remove the bags and continue to water as necessary. Two weeks later, the plants will be ready to plant in the garden.
You also can make more sedums by taking leaf cuttings. This method takes a bit longer, but each leaf cutting can result in dozens of tiny plants. Leaf cuttings use a single leaf, or a portion of a leaf, to generate new plants. This mother leaf does not become a part of the new plant(s); it rots away.
To make a leaf cutting, remove a single leaf from a sedum plant, using a clean, sharp knife. Dip the base of the leaf into rooting hormone, and then insert the bottom half of the leaf into a pot filled with sterile potting mix. Cover the cutting with a plastic baggie and keep it well-watered. A new plantlet will grow where the cut leaf contacts the potting mix.
You also can take a single leaf, nick the outer edge with a sharp knife in several places, dust the nicks with rooting hormone, then pin the leaf flat onto the potting soil. Within a few weeks, small plantlets will grow from each of the nicked spots. The mother leaf will rot away, leaving you dozens of tiny little sedum plants for your garden.
Horticulturist Jessica Walliser co-hosts “The Organic Gardeners” at 7 a.m. Sundays on KDKA Radio with Doug Oster. She is the author of several gardening books, including “Attracting Beneficial Bugs to Your Garden: A Natural Approach to Pest Control” and “Good Bug, Bad Bug.” Her website is jessicawalliser.com.
Send your gardening or landscaping questions to tribliving@tribweb.com or The Good Earth, 503 Martindale St., Third Floor, Pittsburgh, PA 15212.